Getting started with Reclaim

A two-minute guide to scanning, sorting and cleaning.

1

Grant access once

Reclaim is sandboxed, so it can only see folders you allow.
  • On first launch, choose Grant Access to Home Folder.
  • Pick your home folder in the system dialog. Hidden files are visible there.
  • Reclaim remembers your choice. Nothing is uploaded, ever.
Grant access once
2

Run a scan

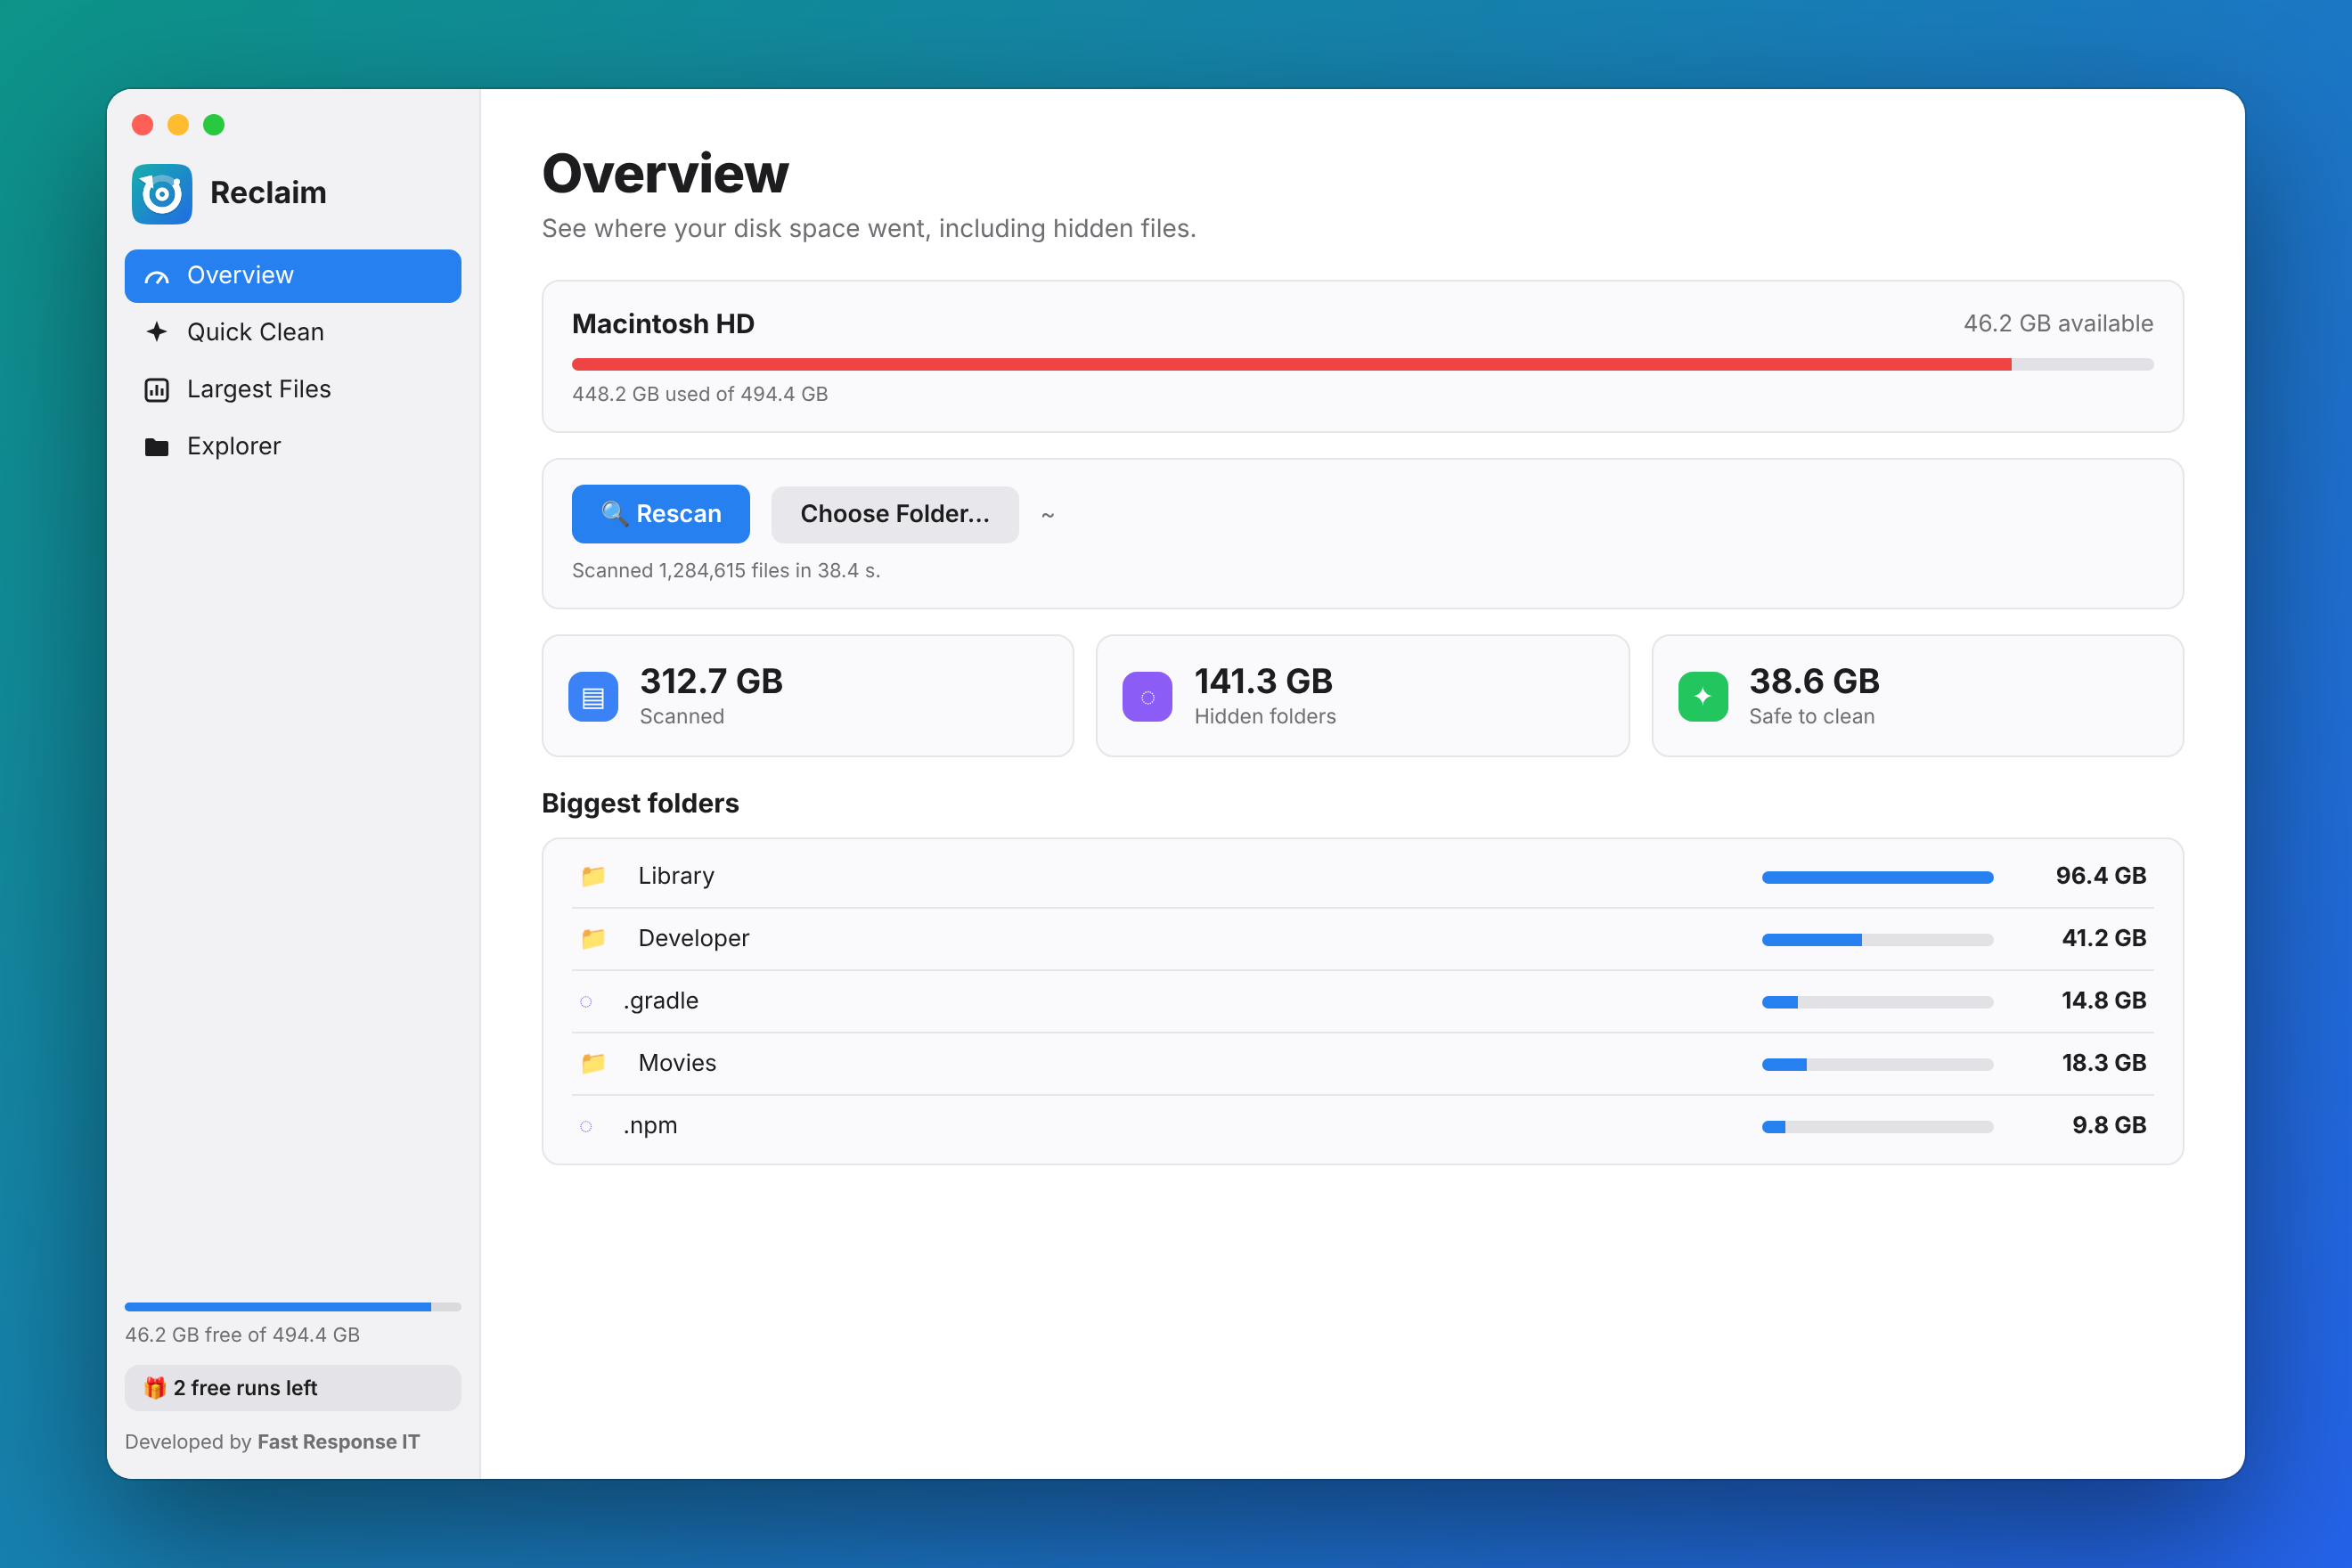
Click Scan. Reclaim reads every folder in parallel and shows progress as it goes.

  • See your biggest folders at the top of Overview.
  • Dot-folders and ~/Library are flagged as hidden.
  • Click any folder to jump straight into it in Explorer.
Run a scan
3

Clean developer junk in one click

Quick Clean lists known caches and build folders with their sizes.
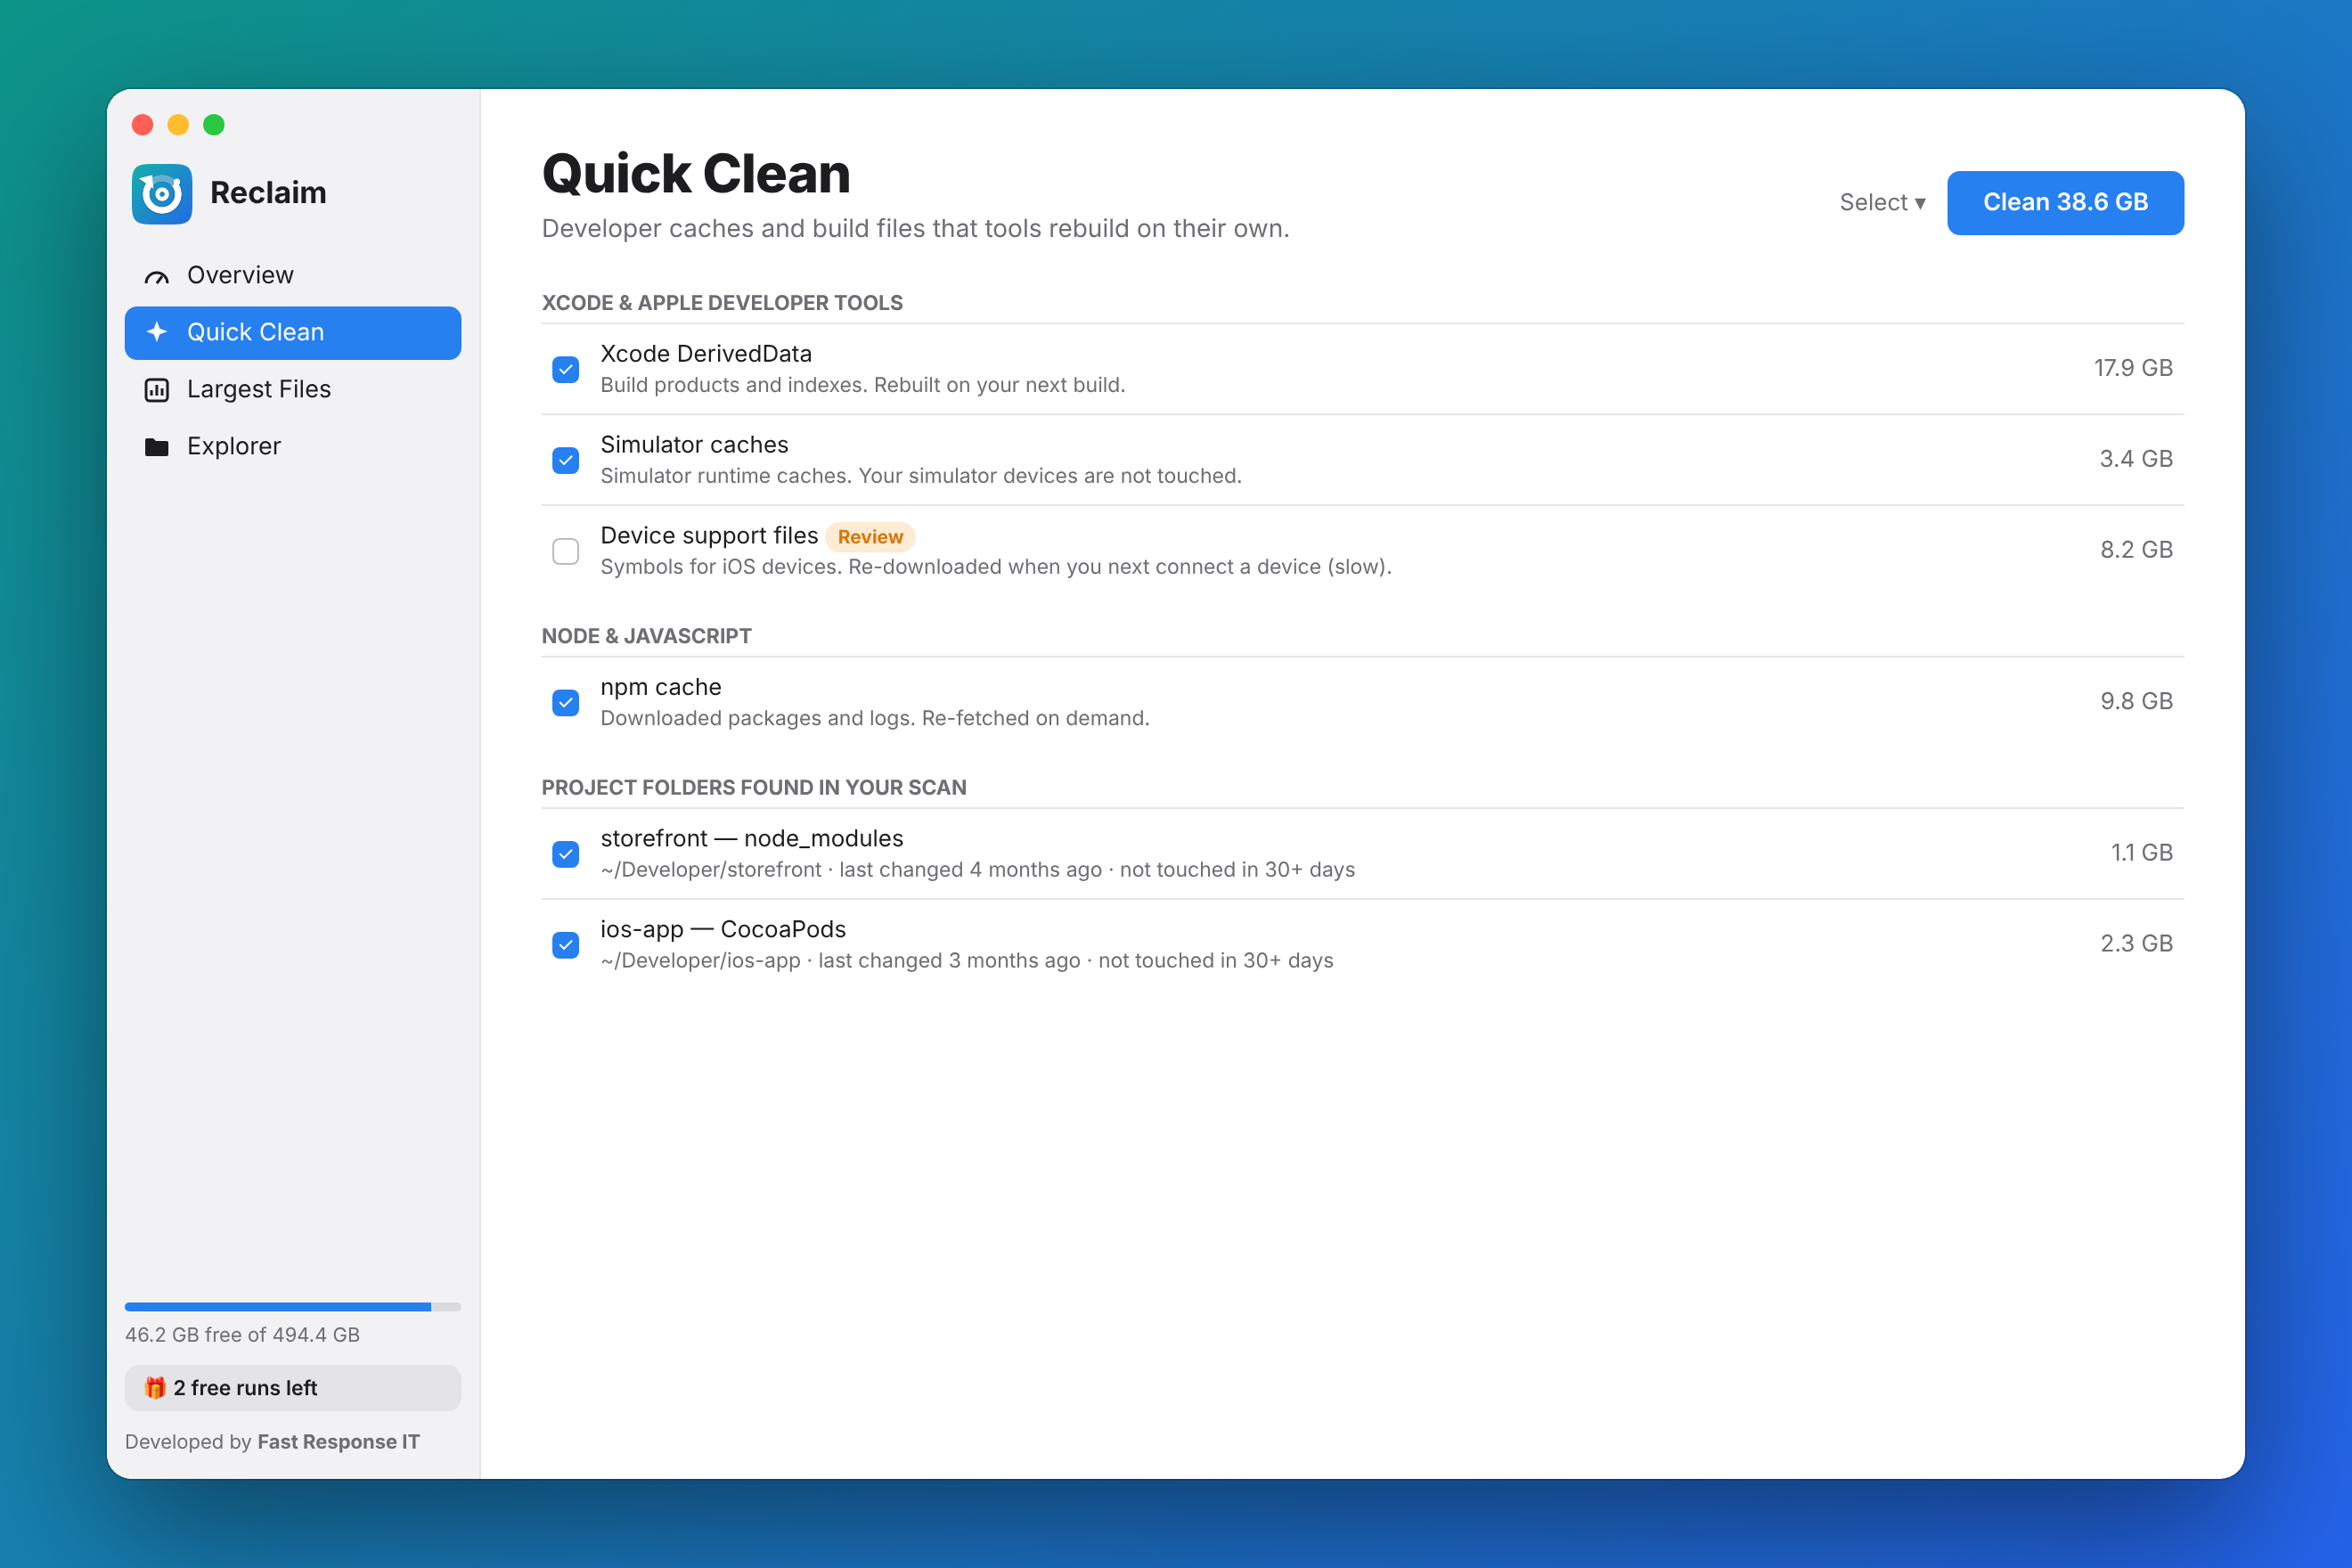
  • Safe items are ticked for you. Items marked Review (like Xcode Archives or the Trash) are not.
  • Project folders such as node_modules and Pods appear after a scan.
  • Press Clean and confirm. That's it.
Clean developer junk in one click
4

Find the biggest files

Largest Files lists the heaviest files from your scan.
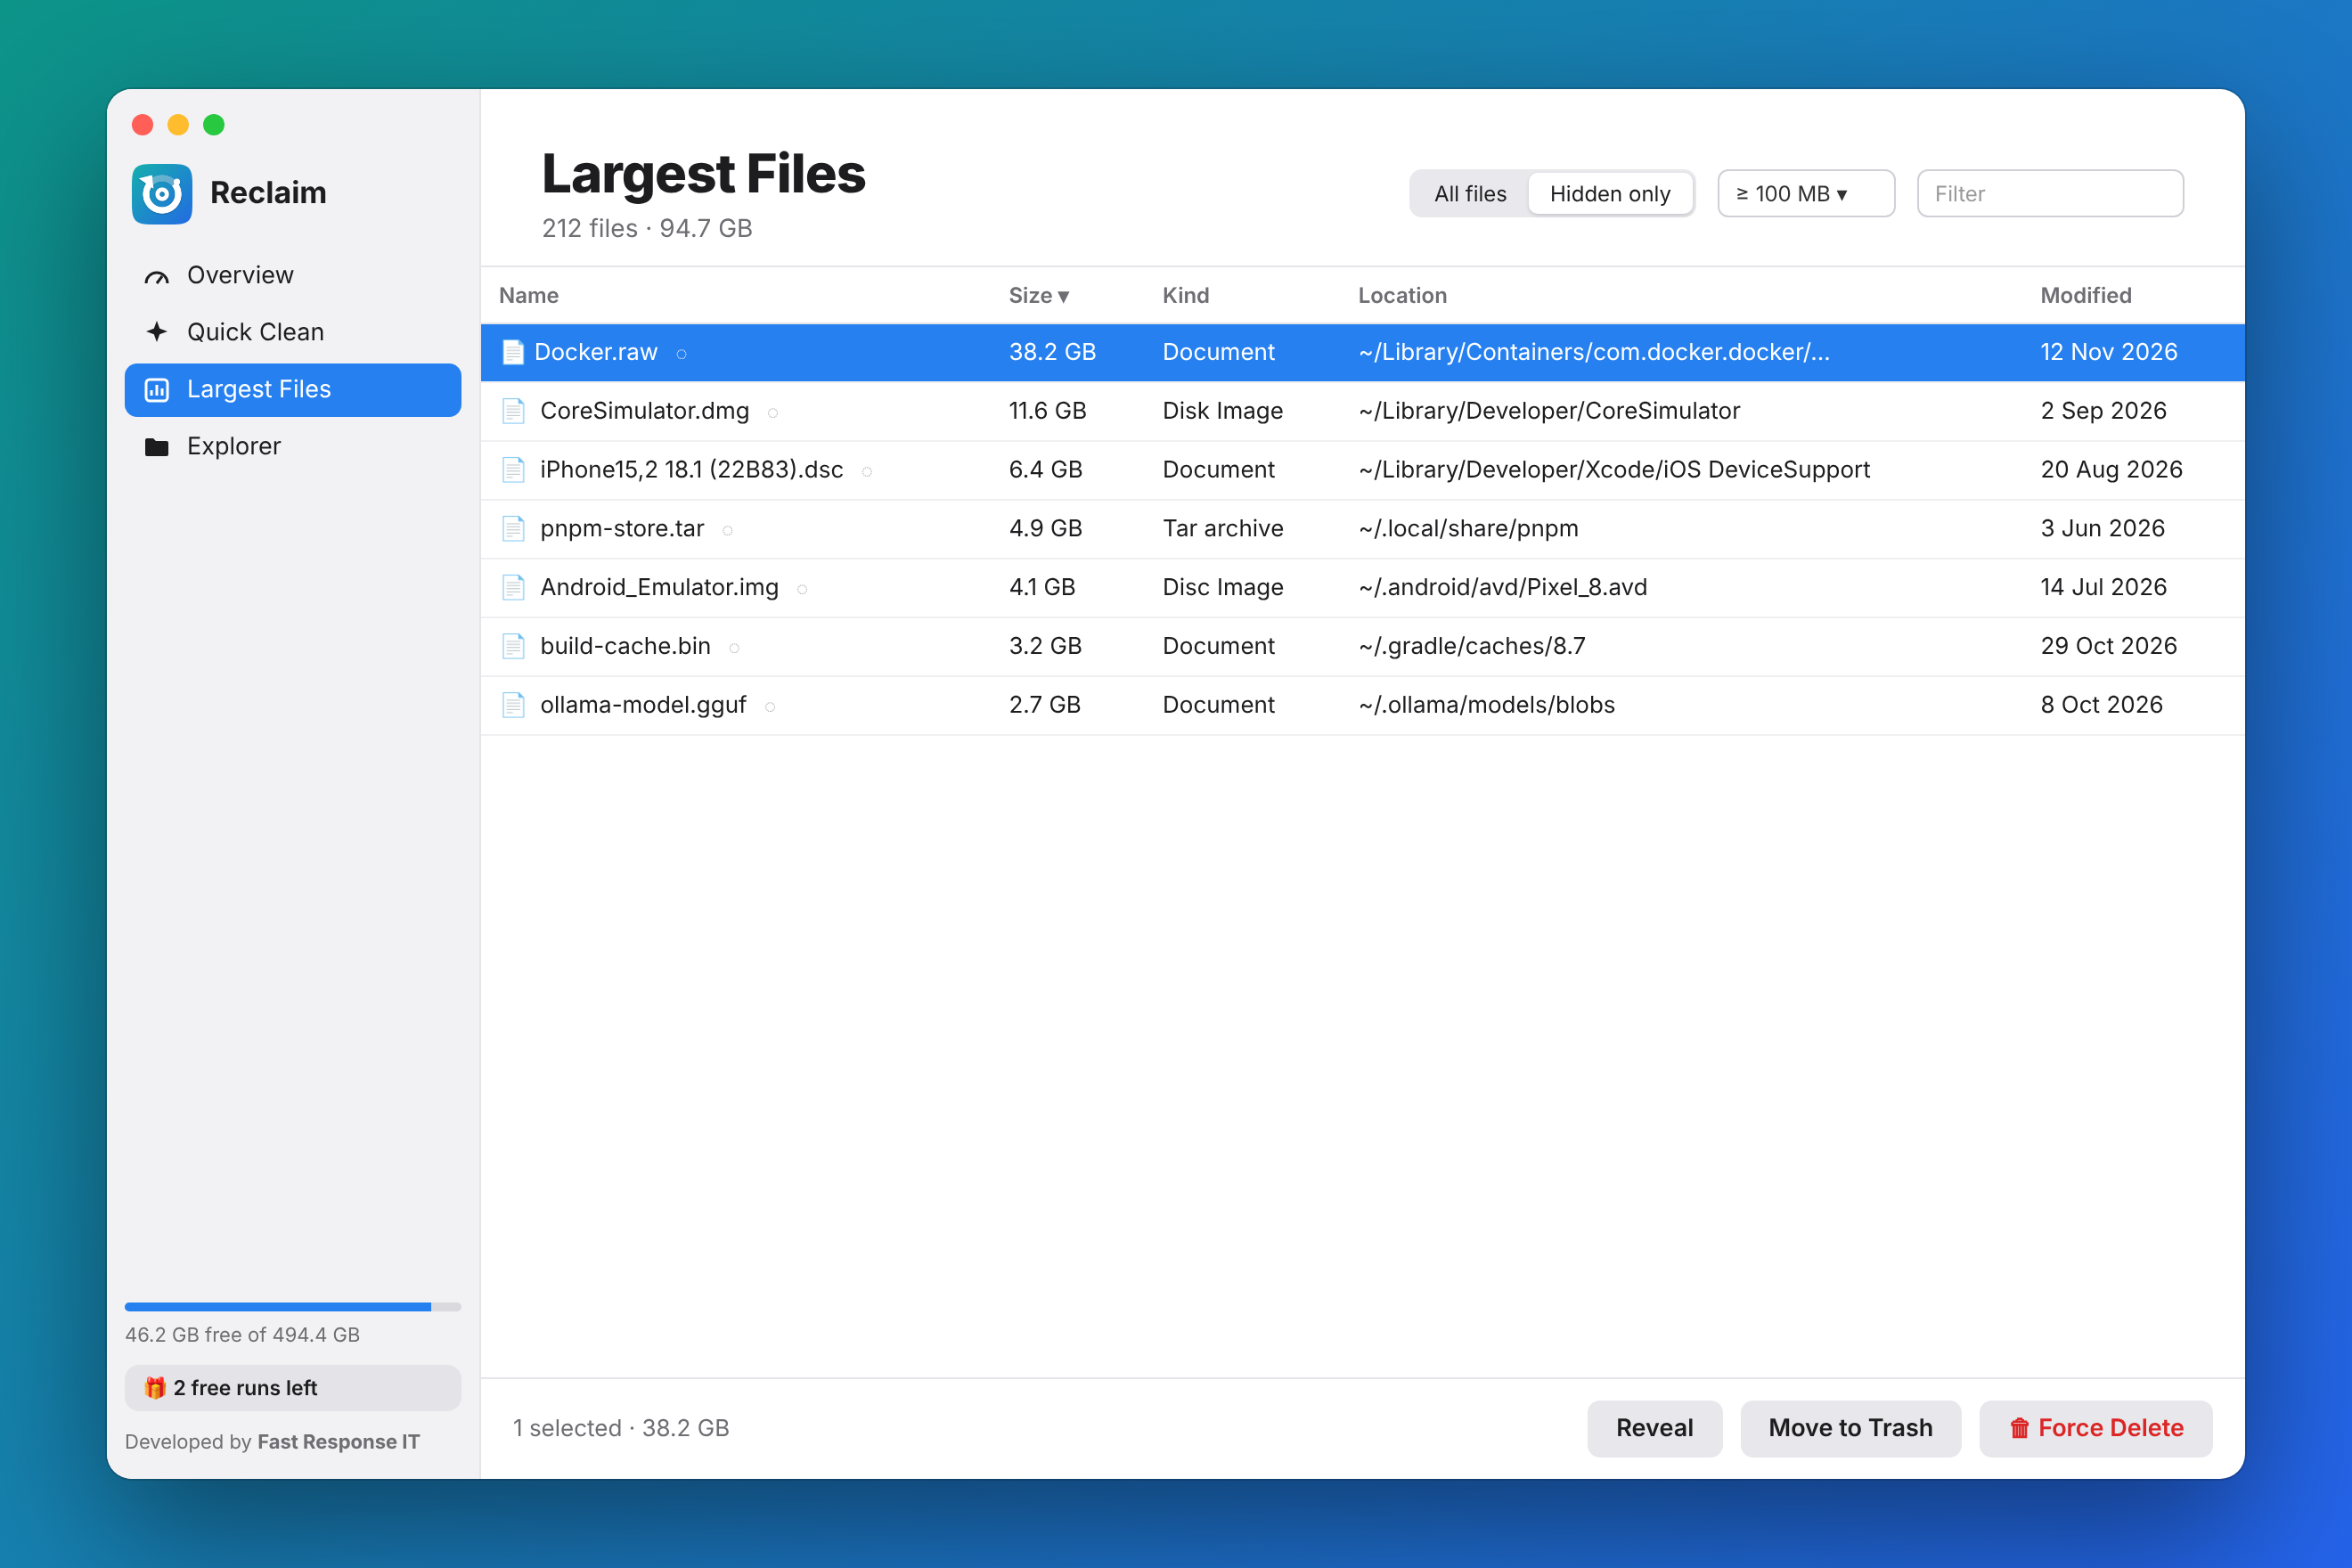
  • Click any column header to sort by name, size, kind, location or date.
  • Switch to Hidden only to focus on dotfiles and ~/Library.
  • Filter by minimum size or search by name.
Find the biggest files
5

Browse and delete

Explorer shows folders with their full sizes, so you can drill down to the culprit.
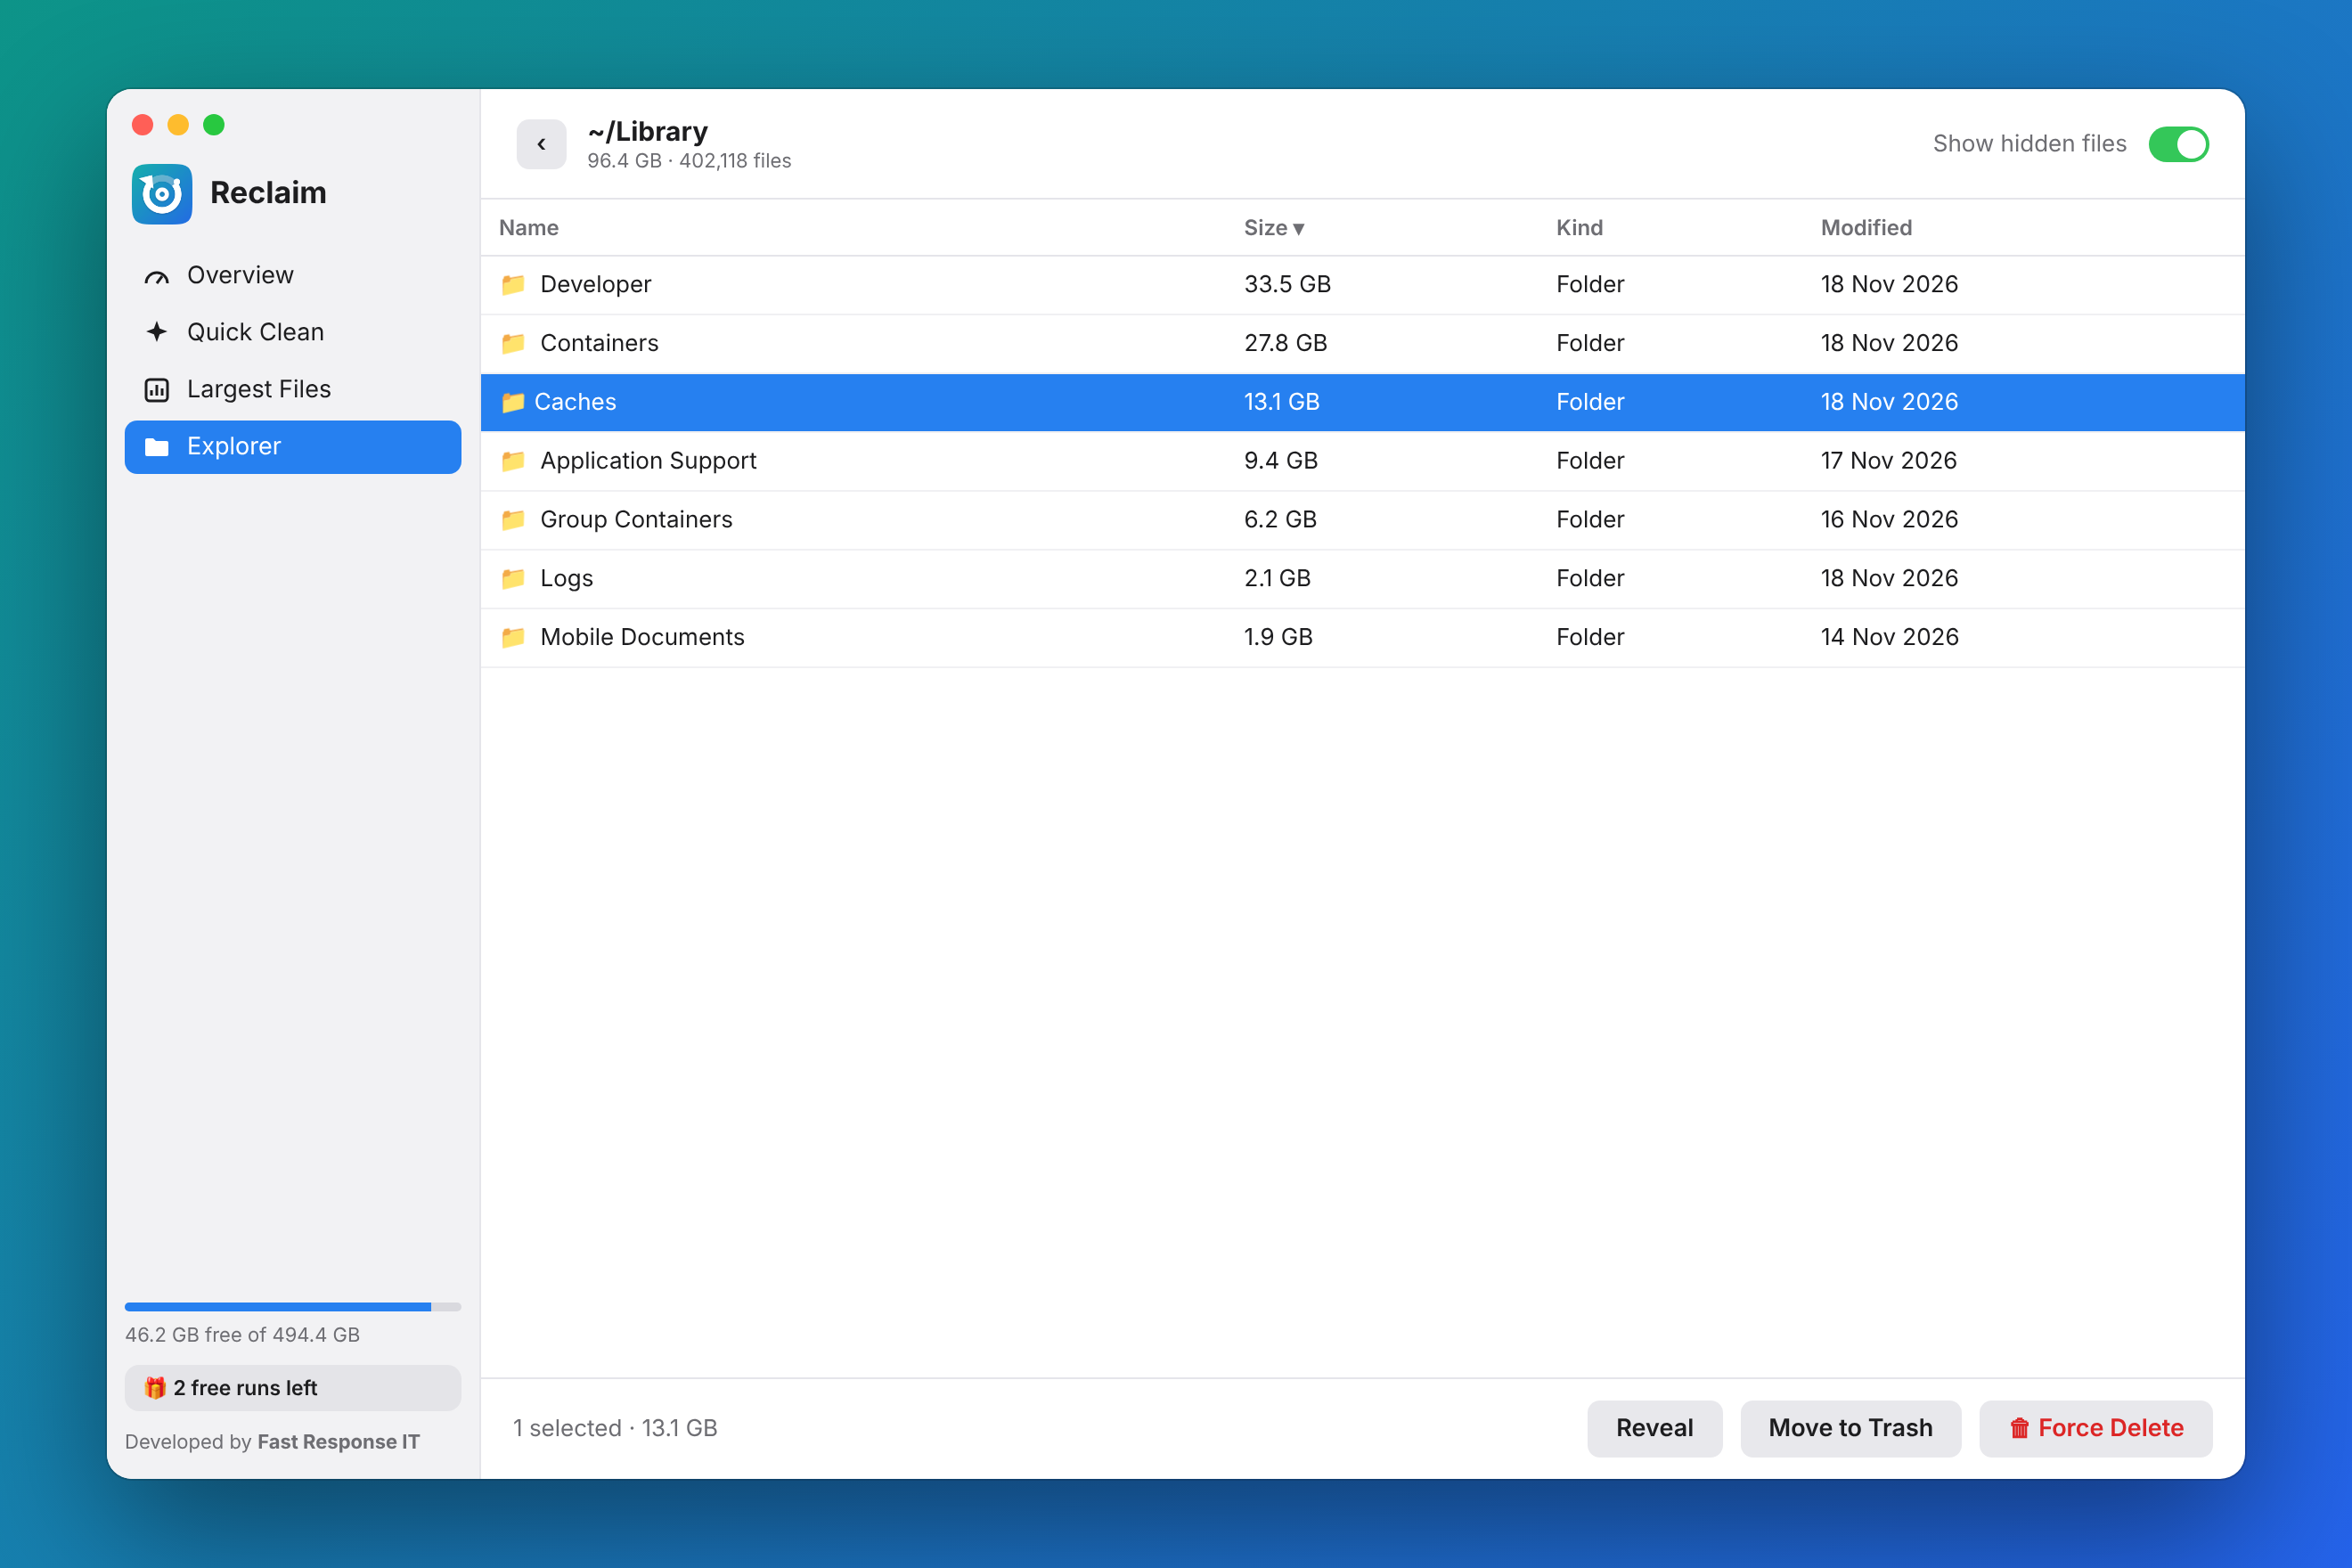
  • Move to Trash is recoverable.
  • Force Delete permanently removes the item and unlocks files that are locked or read-only first.
  • Right-click for Reveal in Finder and Copy Path.
Browse and delete
6

Scan external and network drives

Plug in a drive or connect to a server in Finder and it appears under Overview.
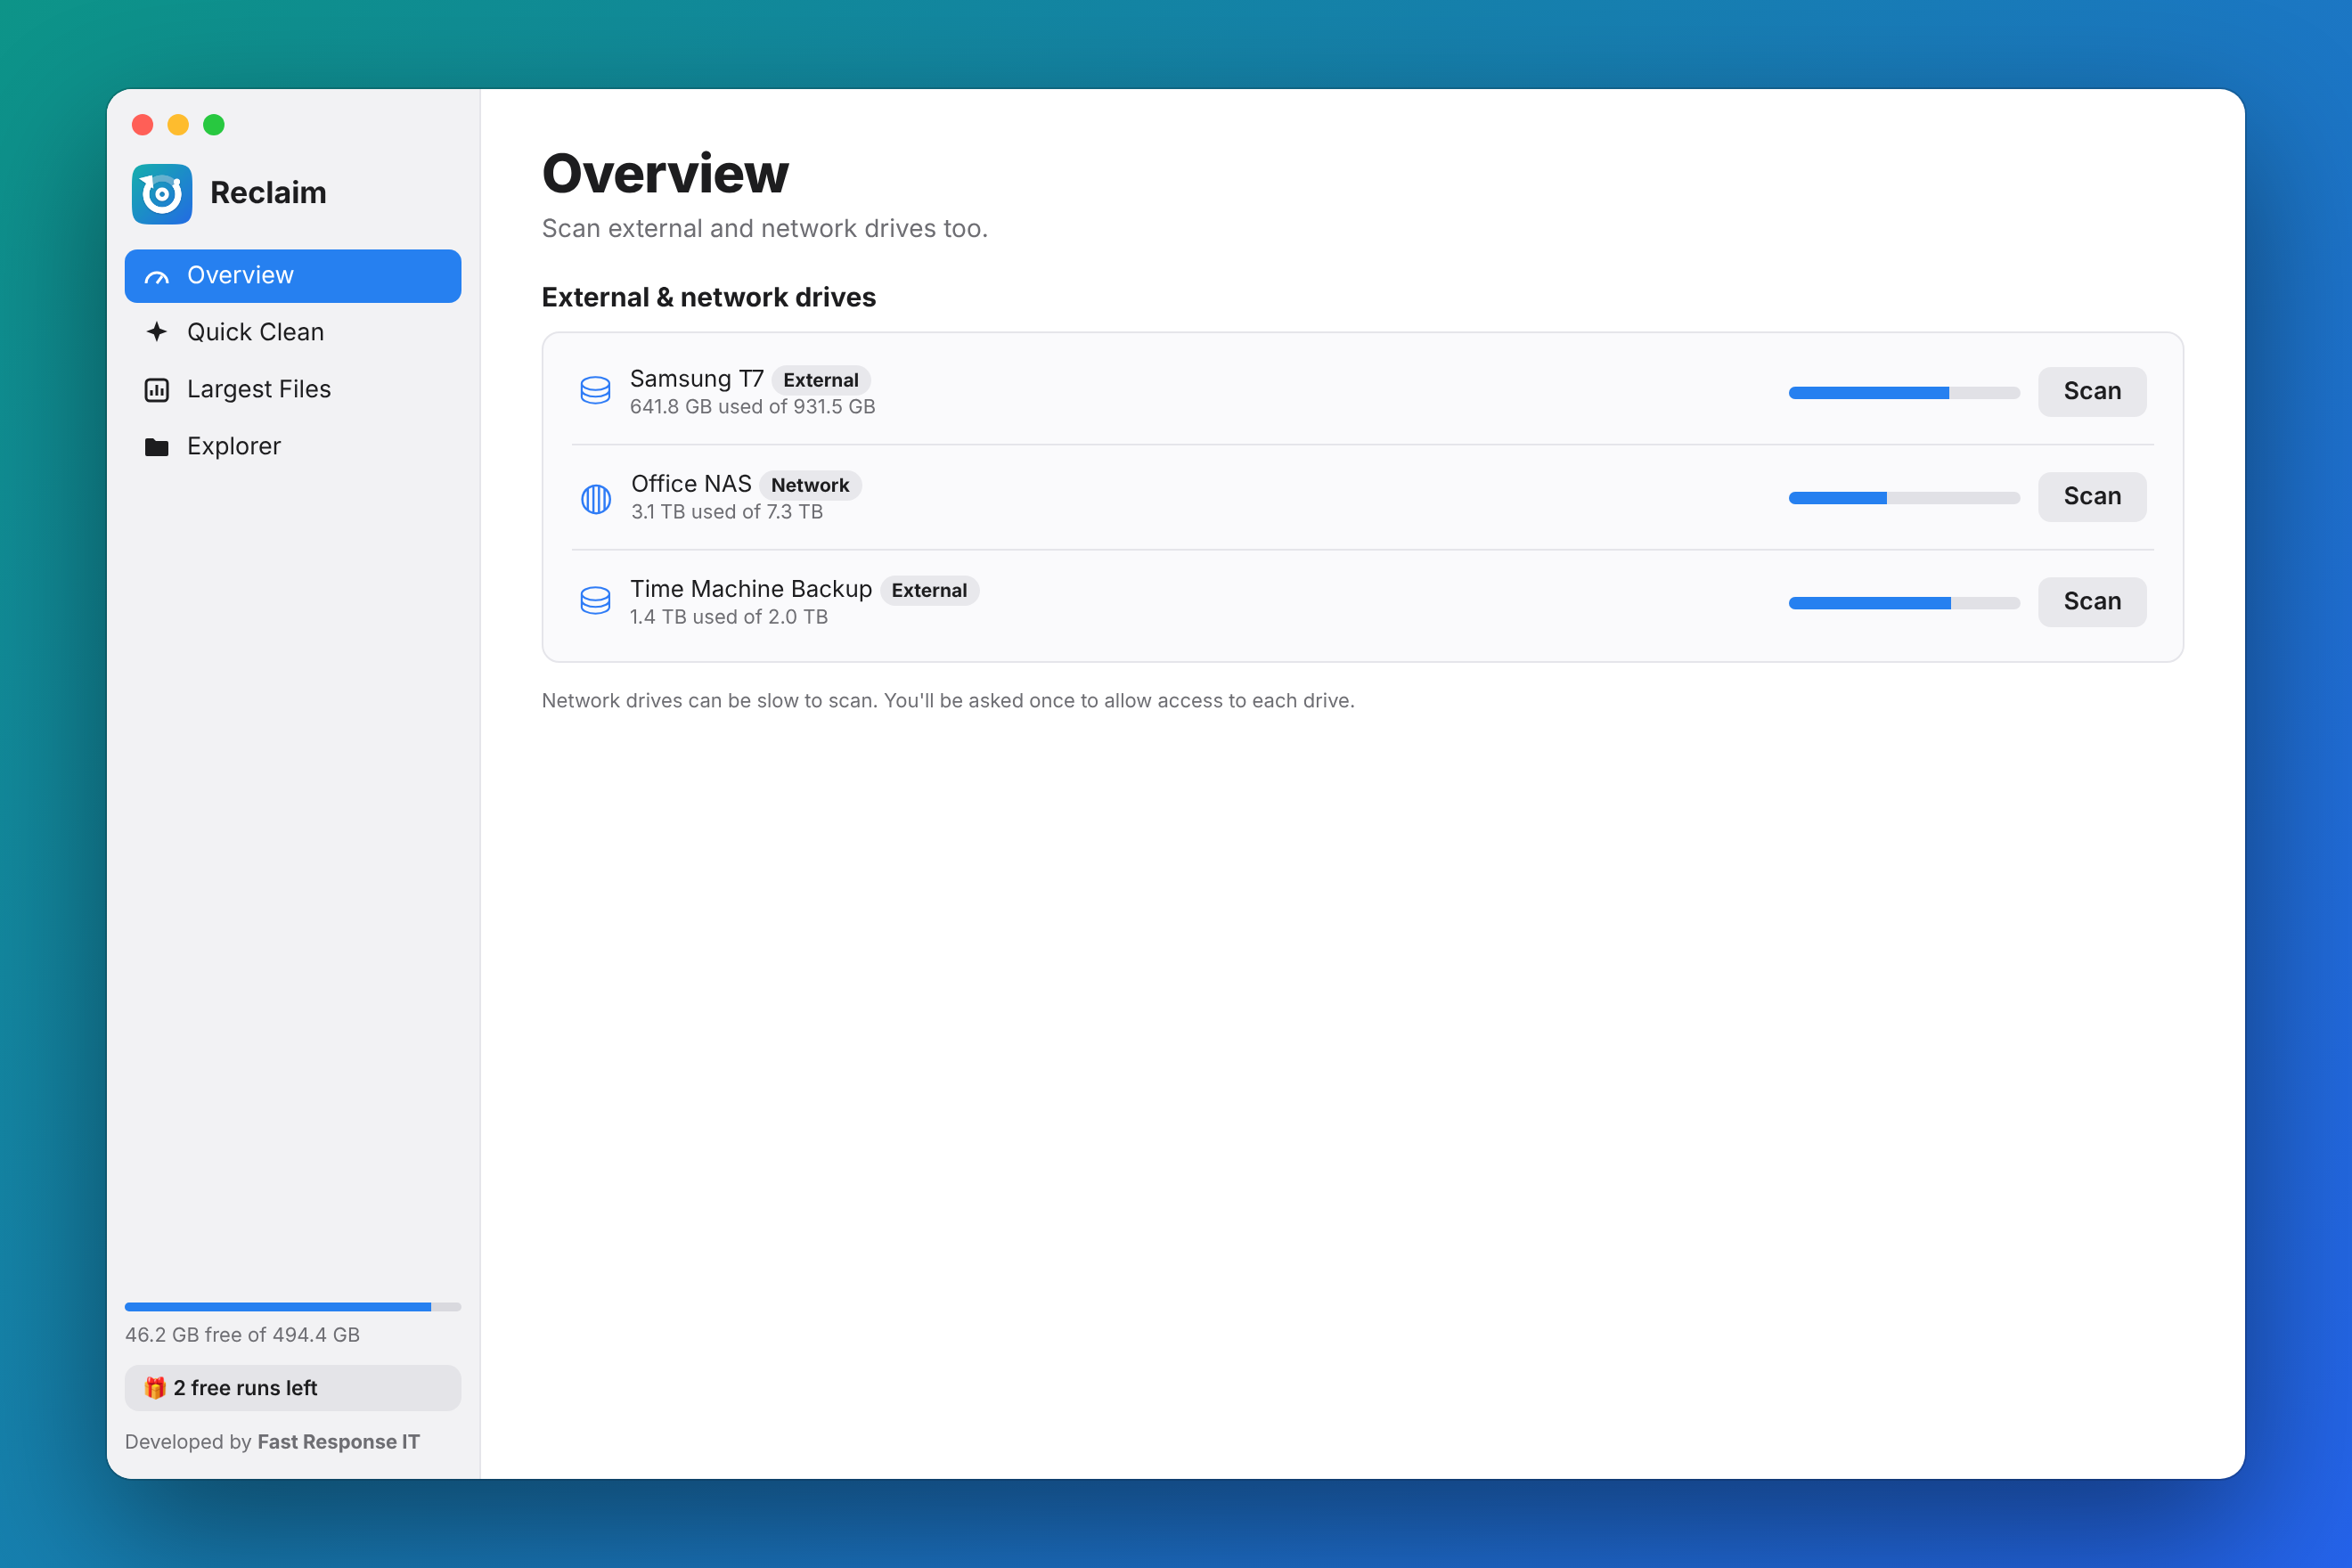
  • Click Scan next to a drive. You'll be asked once to allow access to it.
  • Network drives can take a while on slow connections.
  • Some network drives have no Trash. Use Force Delete there.
Scan external and network drives
Tip: If you're not sure about something, choose Move to Trash instead of Force Delete. You can always restore it from the Trash.

Frequently asked questions

Why does Reclaim ask for access to my home folder?

Apps from the Mac App Store run in a sandbox and can only open folders you choose. Granting your home folder lets Reclaim scan it, including hidden files. You can choose a different folder, or a drive, at any time.

Is Quick Clean safe?

Items marked safe are caches and build files the originating tool recreates automatically, though the next build or install may take longer. Items marked Review may not be recreatable (for example Xcode Archives) so they are not ticked by default. Deleted files cannot be recovered, so review what you select.

What counts as a 'run'?

One scan or one Quick Clean clean-up. You get 3 free runs. After that, Reclaim asks you to subscribe ($2.99 USD per month, or the local equivalent).

How do I cancel or restore my subscription?

Open the App Store on your Mac, click your name, then Account Settings, then Subscriptions. To restore on a new Mac, open the subscribe screen in Reclaim and choose Restore Purchases.

Can Reclaim recover files I deleted?

No. Reclaim cannot recover deleted data. Use the Trash option when you aren't sure, and keep a backup such as Time Machine.

Why can't Reclaim see some folders (Mail, Safari, Photos)?

macOS protects those locations. Reclaim respects that and doesn't try to get around it.